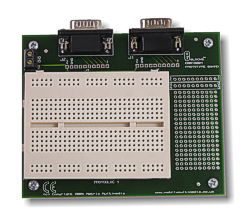
EB016 Prototype Board
More information can be found here.
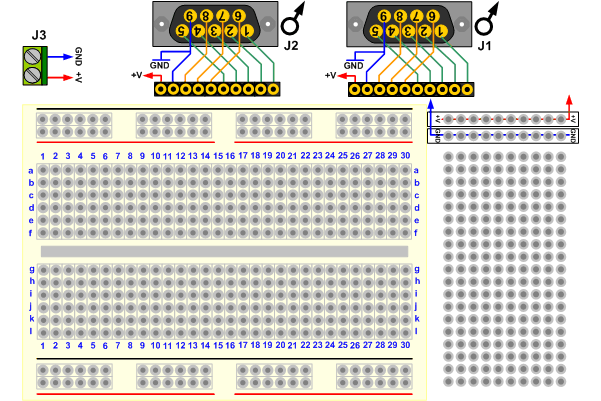
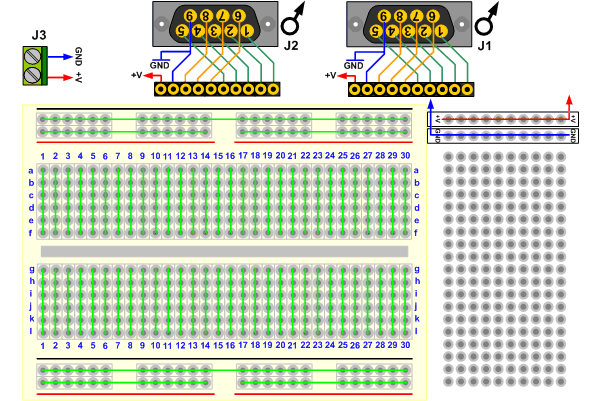
EB016 Prototype Board Block Diagram
Which pins are connected to each other?
- Click EB016-30-1 for a datasheet.
- The male D-type connectors fit into the Female connectors of an upstream board.
- This board lets you build and test your own PICmicro circuits over and over again.
- BE AWARE OF:
- the current limit per PIN of the PICmicro is 25mA. Stay well below this limit!
- Connecting input devices on pins that are configured as outputs (see switch board EB007)
- The total current limit of the PICmicro (all of the pins) is 200mA.
- If you want a more permanent circuit built, or bad contacts in the prototype-board worry you,
- use the small Patch board and solder the circuit you want
- To make connections easier you can use a special set of jumper leads which fit neatly into the turned pin connectors and into the proto board holes.
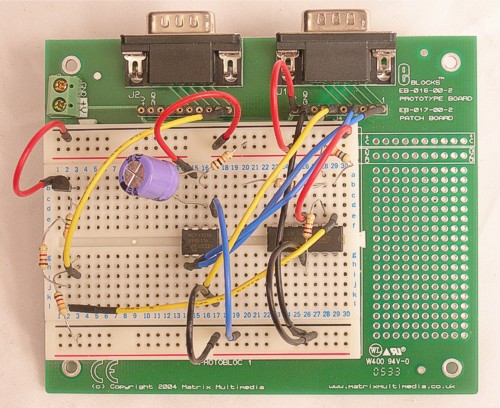
Example